Self-Hosted Google Docs Alternatives

Self-Hosted Google Docs Alternatives
Why?
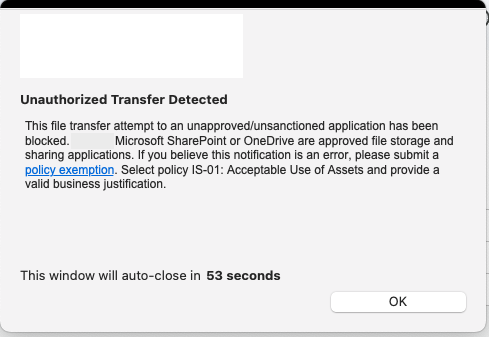
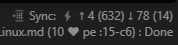
Google Docs has been my "External Brain" for years and years. I keep my customer meeting notes, recipes, home lab details, Linux stuff I can't remember, and docker stuff I can't remember in there. I love Google Docs. Easy, secure, responsive, and accessible on all my devices.For good reasons, my employer has tightened up security controls around exfiltration on my work laptop. First, I could no longer back up my work laptop to BackBlaze as that looked like exfiltration. So I self-hosted NextCloud and used NextCloud Sync to back up my personal files.Recently, I started getting the above pop-up dialog whenever I tried to paste a screenshot into my customer notes in Google Docs. Exfiltrating text by typing into Google Docs is allowed but not through pasting images now. OneNote was an easy move for work notes that are controlled by and visible to my employer. For personal or private notes, I needed something not controllable and visible to my employer.This started my search for a usable self-hosted notes app. This was harder than I expected.
What?
So, what are my requirements?
- Self-Hosted in docker
- Accessible from MacOS, Linux, and Android (web-based is fine)
- Reliable sync between devices
- Ability to edit very large notes responsively
- Stable
I started with this nice list: https://github.com/awesome-selfhosted/awesome-selfhosted?tab=readme-ov-file#note-taking--editors These are the apps I tested and what I found:
TOC
- Obsidian (The Winner)
- Joplin (Second Place)
- TriliumNext (Tied for Second Place)
- Silverbullet (Third Place)
- NextCloud Notes
- Benotes
- Flatnotes
- Rubium
- Sandstorm
How?
Here's a quick installation, and any important findings of each app I tested
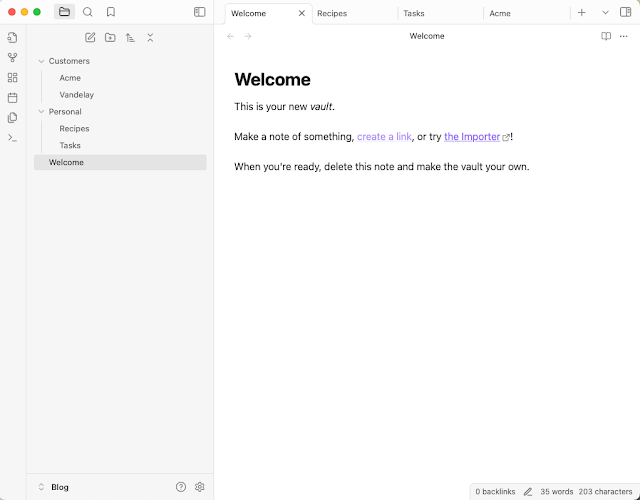
Obsidian (The Winner)
- Web App or Desktop/Mobile App: Desktop/Mobile App
- Download app from here
- Synchronization: Pay $4/month for Obsidian Sync or host your own Livesync (CouchDB) and use the Community Self-hosted LiveSync plugin. You can also use a traditional file sync service like DropBox, Syncthing, or NextCloud to sync your markdown files, but a sync server is best.
- Migration from Google Docs: Save Google doc as Markdown, open markdown in text editor, copy, paste into Obsidian note.
- Comments: Self-Hosted LiveSync (CouchDB) installs with an error. You have to manually create a _users database to remove the error.
- LiveSync Installation
- docker-compose.yml
- ===================
- version: '3'
- services:
- couchserver:
- image: couchdb
- container_name: couchdb
- restart: always
- ports:
- - "5984:5984"
- environment:
- - COUCHDB_USER=admin
- - COUCHDB_PASSWORD=SuperSecretPassw0rd
- volumes:
- - ./dbdata:/opt/couchdb/data
- $ docker compose up
- (You will see an error right away in the logs)
- couchdb | [info] 2025-01-16T19:37:52.310051Z nonode@nohost <0.326.0> -------- Apache CouchDB has started on http://any:5984/
- couchdb | [notice] 2025-01-16T19:37:52.316647Z nonode@nohost <0.349.0> -------- chttpd_auth_cache changes listener died because the _users database does not exist. Create the database to silence this notice.
- Let's fix this error
- Open the LiveSync (CouchDB) management interface at http://hostname:5984/_utils
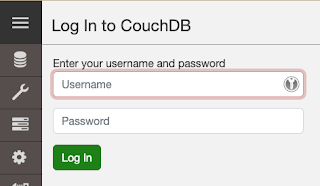
- Use admin for the username and whatever password you entered in your docker-compose.yml
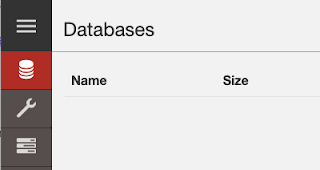
- You will be presented with the Databases screen where you can create a new database
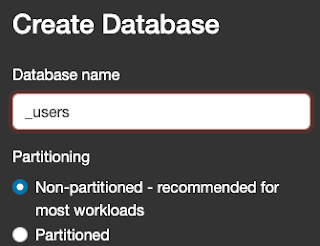
- Once you create the _users database, the errors will stop displaying in the log and you will see happy log messages
- couchdb | [notice] 2025-01-16T19:45:56.237144Z nonode@nohost <0.4469.0> a6261c34ee 192.168.1.155:5984 192.168.1.117 admin PUT /_users 201 ok 29
- couchdb | [notice] 2025-01-16T19:45:56.275696Z nonode@nohost <0.4471.0> a84f0552bc 192.168.1.155:5984 192.168.1.117 admin GET /_utils/dashboard.assets/img/couch-watermark.png 200 ok 1
- Now that LiveSync is running, we can install the Self-hosted LiveSync community plug-in in Obsidian. Go to Settings > Community plugins > Browse > and search for "LiveSync"
- Install the plug-in
- For Options, choose the manual setup under the satellite icon. Choose CouchDB as the back-end server and enter your server info, CouchDB username and password
- Click Test to test the connection
- Once you have this working, you can save the settings as a URI to use on other installations of the Obsidian app.
- To save the settings URI, click the Wizard icon and then the Copy button to create the URI. You will be asked for an encryption passphrase for the URI.
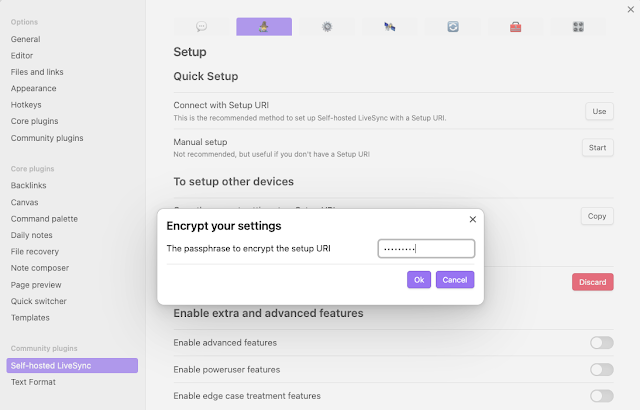
- Save this URI which will be sent to your clipboard somewhere for future use. The URI will look something like this:
- obsidian://setuplivesync?settings=%250ae0c63b3ff08f37b78f878c01000000c151f56ccef17aafc652a99c5170d83fvVMkuuko3WjmchWju8ykRSmFzWb6xKv[SNIP]7GXL67NedbVRI%2B%2FfEdztovSFagwVlQfV%2FU5LnYdDAOfIAaOAiSktPWkKWVY%3D
- Now set the frequency of synchronization in the recycle icon tab. I set mine to every 60 seconds as well as whenever I open a note. Because I am nervous. 🙂

- Set up and sync a new Obisian client with the setup URI
- Install the Obsidian client and create an empty vault somewhere. This location is where sync will drop all the markdown files.
- Install the Community LiveSync plug-in and Enable it
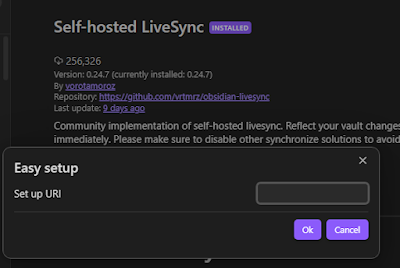
- When you Enable the LiveSync Community plug-in on the new device, you will see this dialog box

- Paste the Setup URI you saved earlier into this box
- When asked for the encryption passphrase, enter that
- Answer Yes to "Are you sure you want to proceed?"
- Choose "This is a new client"
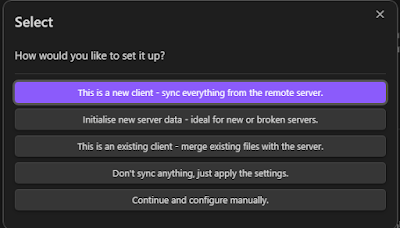
- Answer No to "Do you want to enable extra features"
- Sync will get very busy in the upper right corner and you will start seeing your folders and notes populating in the left pane as the synchronization finishes.
- You will also find a mirrored copy of your markdown files (*.md) stored locally on this new device in the default vault location.
- Your synchronization settings are also automagically saved with that Setup URI. Yay.
- (Jump back to top)
Joplin (Second Place)
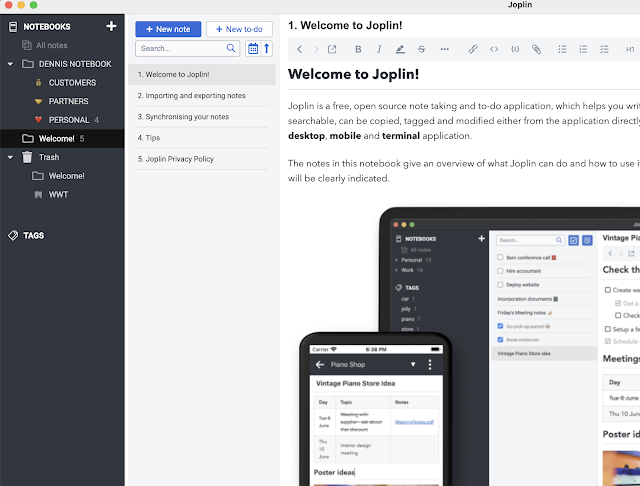
- Web App or Desktop/Mobile App: Desktop/Mobile App
- Download app from here
- Synchronization: Pay €2.40/month for Joplin Cloud or host your Joplin Server. You can also use a traditional file sync service like DropBox, OneDrive, or NextCloud to sync your Joplin files, but a sync server is best.
- Migration from Google Docs: Save Google doc as Markdown, open Markdown in a text editor, copy, and paste into a Joplin note.
- Comments: Pros: Very nice interface. Imports tons of formats. Option to write in Markdown or WYSIWYG Cons: Lags more than Obsidian when editing very large notes.
- Install the Joplin Sync Server
- docker-compose.yml
- ---
- version: '3.7'
- services:
- joplin-server:
- image: etechonomy/joplin-server:latest
- container_name: joplin-server
- environment:
- - APP_BASE_URL=http://joplin.yourdomain.tld
- - APP_PORT=22300
- - DB_CLIENT=pg
- - POSTGRES_PASSWORD=joplin
- - POSTGRES_DATABASE=joplin
- - POSTGRES_USER=joplin
- - POSTGRES_PORT=5432
- - POSTGRES_HOST=joplin-db
- restart: unless-stopped
- ports:
- - 22300:22300
- joplin-db:
- image: postgres:16 # latest as of 1/27/2024
- container_name: joplin-db
- restart: unless-stopped
- ports:
- - 5432:5432
- volumes:
- - /foo/bar/joplin-data:/var/lib/postgresql/data
- environment:
- - POSTGRES_PASSWORD=joplin
- - POSTGRES_USER=joplin
- - POSTGRES_DB=joplin
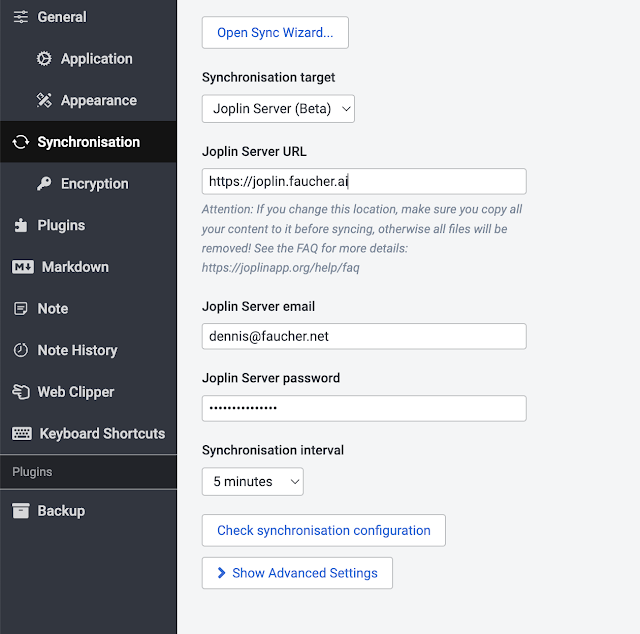
- run "docker compose up -d" to start the Joplin server
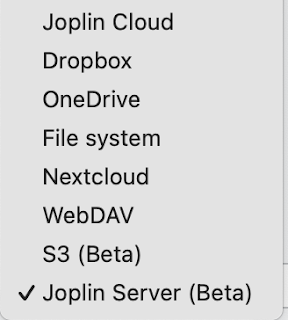
- In the Joplin app, go to Settings > Synchronization, choose Joplin Server (Beta) from the drop-down menu, and enter your Joplin server information.
- (Jump back to top)
TriliumNext (Tied for Second Place)
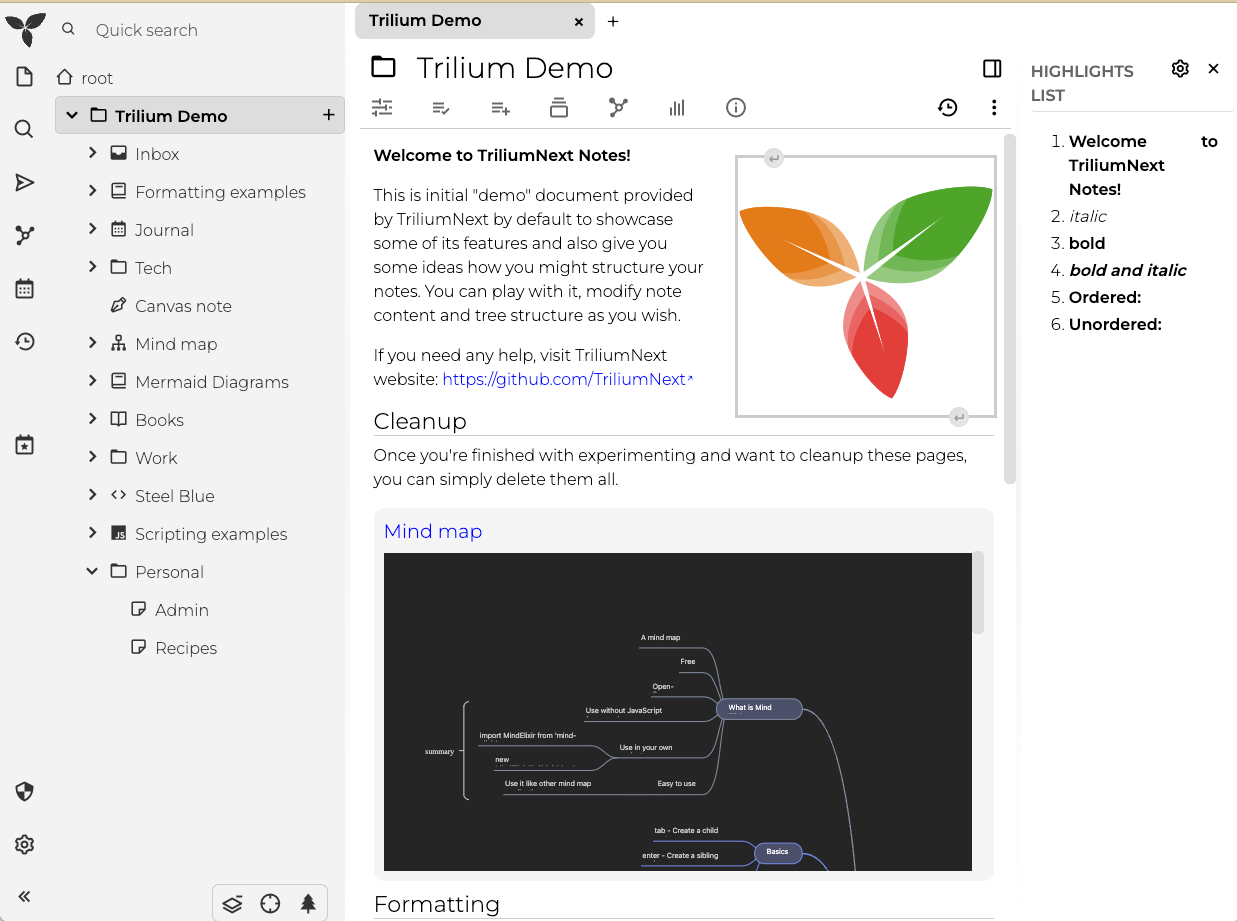
- Note: I had originally left Trilium out of the running as development had stopped. Then someone was nice enough to tell me about TriliumNext which is lovely, so I am adding that review.
- Web App or Desktop/Mobile App: Web App
- Install the web app from here. Default docker-compose.yml looks like this:
# Running `docker-compose up` will create/use the "trilium-data" directory in the user home
# Run `TRILIUM_DATA_DIR=/path/of/your/choice docker-compose up` to set a different directory
# To run in the background, use `docker-compose up -d`
services:
  trilium:
    # Optionally, replace `latest` with a version tag like `v0.90.3`
    # Using `latest` may cause unintended updates to the container
    image: triliumnext/notes:latest
    # Restart the container unless it was stopped by the user
    restart: unless-stopped
    environment:
      - TRILIUM_DATA_DIR=/home/node/trilium-data
    ports:
      # By default, Trilium will be available at http://localhost:8080
      # It will also be accessible at http://<host-ip>:8080
      # You might want to limit this with something like Docker Networks, reverse proxies, or firewall rules, such as UFW
      - '8080:8080'
    volumes:
      # Unless TRILIUM_DATA_DIR is set, the data will be stored in the "trilium-data" directory in the home directory.
      # This can also be changed with by replacing the line below with `- /path/of/your/choice:/home/node/trilium-data
- ${TRILIUM_DATA_DIR:-~/trilium-data}:/home/node/trilium-data- Synchronization: Not needed. Web app.
- Migration from Google Docs: Save Google Doc as Markdown, open Markdown in a text editor, copy, and paste into TriliumNext with the cool "Insert Markdown" Icon.

Comments: Pros: TriliumNext is lovely. Nested folders are important for me. You can insert many types of content right from the ribbon. TriliumNext works fine from a mobile browser. To get back to the note hierarchy, just tap the X close box on your note. Plus you can share notes!
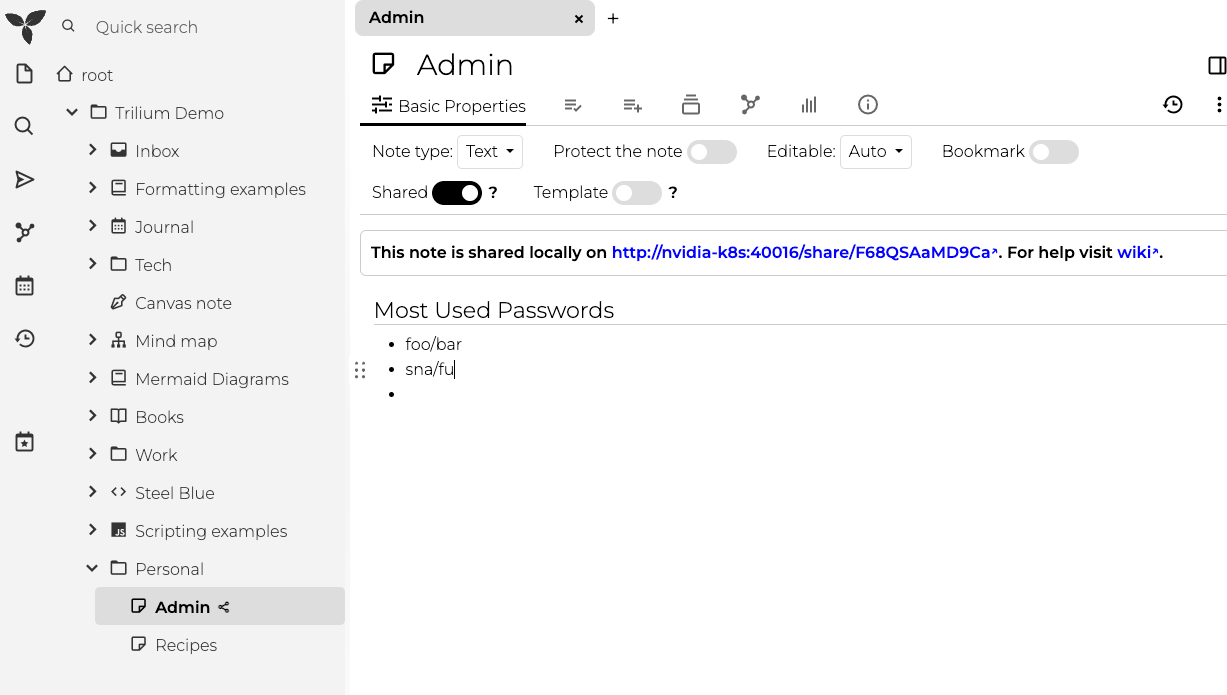
Cons: I have gotten so used to Obsidian where all notes are just easy to find files on my device, that a mystery database of my notes makes me nervous. That's just me though. OneNote, Google Docs, Evernote are no different in that respect. The offline nature of Obsidian is nice as well. Using non-web apps means an extra tricky step of synchronization but non-web apps allow for offline use.
- (Jump back to top)
Silverbullet (Third Place)
- Web App or Desktop/Mobile App: Web App
- Install the web app from here
- Synchronization: Not needed. Web app.
- Migration from Google Docs: Save Google Doc as Markdown, open Markdown in a text editor, copy, and paste into Obsidian note.
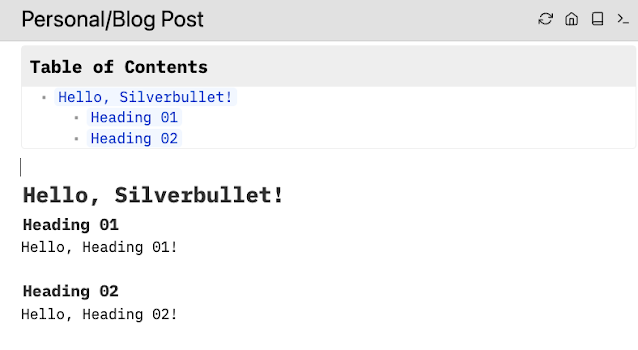
- Comments: Pros: I love this because of how fast it is and how it is so keyboard-oriented. Automatically creates a Table of Contents for each note. Cons: No folder structure navigation, but you create folders as you create notes with the keyboard. The TOC creation for large notes can take a long time, eat up CPU & RAM, and hang. This process can make Silverbullet unstable. Also, the only note font is monospaced Courier.
- Installation
- docker-compose.yml
- ==============
- services:
- silverbullet:
- image: zefhemel/silverbullet
- container_name: silverbullet
- restart: unless-stopped
- environment:
- - SB_USER=admin:SuperSecretPassw0rd
- volumes:
- - ./space:/space
- ports:
- - 3000:3000
- Run docker compose up and then open silverbullet at http://hostname:3000/.auth
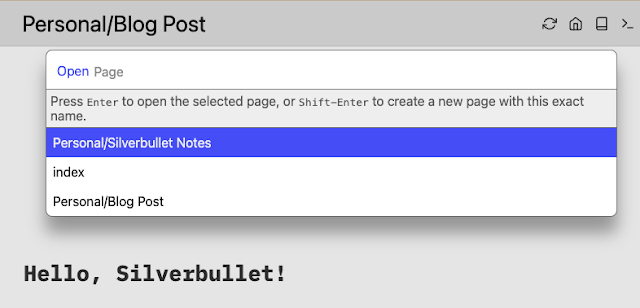
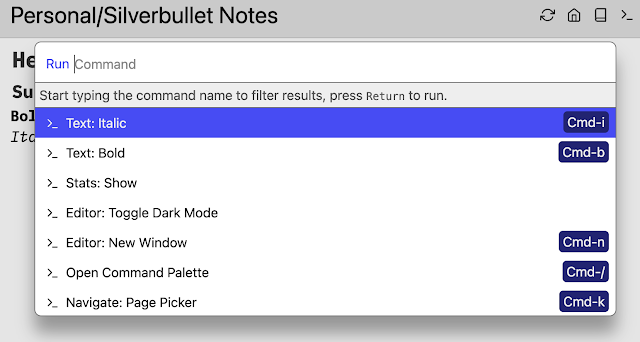
- The welcome page is a nice quick-start tutorial. All you need to know is CMD-K and CMD-/ (if you are accessing from a Mac)
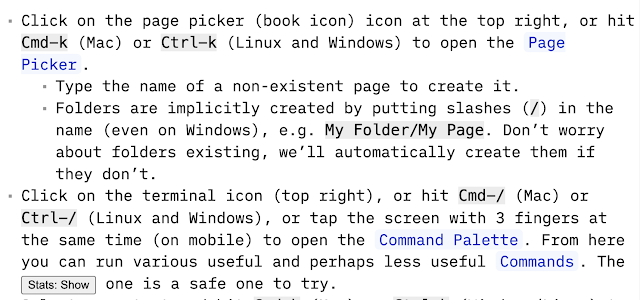
- To create a new note in the new folder, just either type CMD-K or click the rectangle page picker icon.

- Type a folder name / and then a note name and click Create Page

- Use regular markdown formatting characters like # and ** and _ or press CMK-/ and search for formatting commands
- As you edit your notes, you can watch the docker logs to see what is being done behind the scenes
silverbullet  | Writing file Personal/Silverbullet Notes.md
silverbullet  | Writing file Personal/Screenshot 2025-01-16 at 10.06.37 PM.png
silverbullet  | Indexing attachment Personal/Screenshot 2025-01-16 at 10.06.37 PM.png
silverbullet  | Requested file Personal/Screenshot 2025-01-16 at 10.06.37 PM.png
silverbullet  | Requested file Personal/Screenshot 2025-01-16 at 10.06.37 PM.png
silverbullet  | Writing file Personal/Silverbullet Notes.md
silverbullet  | Requested file Personal/Screenshot 2025-01-16 at 10.06.37 PM.png
silverbullet  | Requested file favicon.ico
silverbullet  | Error GETting file favicon.ico Not found
silverbullet  | Writing file Personal/Silverbullet Notes.md
- Offline mode: The recycle symbol icon turns offline mode on and off. You can continue to edit a note in your browser while offline and when your network connection is restored, the changes will be written to the server.
- A little on the automatic TOC. The first time I installed silverbullet, TOCs were added automatically. The second time I installed silbverbullet, I had to open the command menu and run Libraries: Update. When I refreshed my note, the TOC was there. Here is the tail of the log:
Done with library !silverbullet.md/Library/Core/*
Requested file SETTINGS.md
Loaded 0 functions, 0 commands, 0 event handlers from space-script
Loaded 0 Lua scripts
Requested file _plug/markdown.plug.js
Requested file SETTINGS.md
Requested file _plug/index.plug.js
Requested file Personal/Blog Post.md
Requested file Library/Core/Widget/Table of Contents.md
Requested file Library/Core/Widget/Linked Mentions.md
Requested file _plug/editor.plug.js
Requested file Library/Core/Widget/Linked Tasks.md
Requested file _plug/query.plug.js
Requested file _plug/template.plug.js
- Now the note has a TOC
- (Jump back to top)
NextCloud Notes
- Web App or Desktop/Mobile App: Web App
- Install NextCloud from here
- Install NextCloud app from here
- Synchronization: Not needed. Web app.
- Comments: Pros: Easy install like all NextCloud apps. Supports folders. Nice / pop-up menu when editing. Works fine on mobile in Chrome as a PWA. No integrated single-note search, but you can use Chrome's "Find in page" command to search for a note. Cons: I cannot remember why I did not list this higher as I already have NextCloud installed. Probably because there is no dedicated Android NextCloud Android app.
- Note: Creating folders (labels) is a little strange. You create folders when you rename a note. Rename the default folder in the same dialog box where you rename the note. Not intuitive.
- (Jump back to top)
Benotes
- Web App or Desktop/Mobile App: Web App
- Install Benotes from here
- Make sure you run these two steps after running docker compose -d
- docker compose exec --user application app sh
- (access the app service)
- php artisan install
- (amongst others: create an admin account. Type yes if asked.)
- php artisan install
- Initiate installation...
- 0/4 [░░░░░░░░░░░░░░░░░░░░░░░░░░░░] 0%
- Application key set successfully.
- This will invalidate all existing tokens. Are you sure you want to override the secret key? (yes/no) [no]:
- > yes
- jwt-auth secret [vVmDCZZyez8pl0F22x2mY9Gpm6p1jiZI1pEx0S2uaNFe5qCFmEO5S4Mr3Wq2HjxK] set successfully.
- 2/4 [▓▓▓▓▓▓▓▓▓▓▓▓▓▓░░░░░░░░░░░░░░] 50%
- **************************************
- * Application In Production! *
- **************************************
- Do you really wish to run this command? (yes/no) [no]:
- > yes
- Nothing to migrate.
- 3/4 [▓▓▓▓▓▓▓▓▓▓▓▓▓▓▓▓▓▓▓▓▓░░░░░░░] 75%
- Create your Admin account:
- Username [Admin]:
- >
- Email:
- > [email protected]
- Password:
- > *********
- Re-entered password:
- > *********
- 4/4 [▓▓▓▓▓▓▓▓▓▓▓▓▓▓▓▓▓▓▓▓▓▓▓▓▓▓▓▓] 100%
- Installation complete.
- Access Benotes at http://[hostname]:8000
- Synchronization: Not needed. Web app.
- Migration from Google Docs: Copy into the clipboard from Google Docs, and paste into a new note in Benotes.
- Comments: Pros: Easy to install and use Cons: Cannot change card layout to list layout. Failed to save large note that I pasted from Google Docs (500 Error). No settings at all other than changing from light mode to dark mode.
- (Jump back to top)
Flatnotes
- Web App or Desktop/Mobile App: Web App
- Install Flatnotes from here
- Make sure you change these values before running docker compose up -d
- FLATNOTES_AUTH_TYPE: "password"
- FLATNOTES_USERNAME: "user"
- FLATNOTES_PASSWORD: "changeMe!"
- FLATNOTES_SECRET_KEY: "aLongRandomSeriesOfCharacters"
- Access Flatnotes at http://[hostname]:8080
- Synchronization: Not needed. Web app.
- Migration from Google Docs: Copy into clipboard from Google Docs, and paste into a new note in WYSIWYG mode.
- Comments: Pros: Easy to install and use. Supports both Markdown and WYSIWYG editing. Search is full-text search. Cons: Cannot create a hierarchy of notes. No settings at all.
- (Jump back to top)
Rubium
- Web App or Desktop/Mobile App: Web App hosted at Rubium Cloud. Is a React app that can probably be self-hosted, but I'm not smart enough to figure it out. I "git cloned" the repo to /var/www/html and opened index.html but got a blank page.
- Access Rubium Cloud here
- Synchronization: Not needed. Web app.
- Migration from Google Docs: Copy into clipboard from Google Docs, and paste into a new note. I lost all formatting when I did this.
- Comments: Pros: Hosted for you. Cons: Cannot create a hierarchy of notes. Could not create a bulleted list or really any formatting except for 3 levels of Headings.
- (Jump back to top)
Sandstorm
- Web App or Desktop/Mobile App: Web App
- Install Sandstorm from here (Only x86_86 architectures supported)
- docker run --privileged -i -t -v sandstorm-data-volume:/opt/sandstorm --name sandstorm-build buildpack-deps bash -c 'useradd --system --user-group sandstorm ; curl https://install.sandstorm.io/ > install.sh && REPORT=no bash install.sh -d -e'
- docker run --privileged -i -t --sig-proxy=true -p 0.0.0.0:6080:6080 -v sandstorm-data-volume:/opt/sandstorm buildpack-deps bash -c 'useradd --system --user-group sandstorm && /opt/sandstorm/sandstorm start && tail -f /opt/sandstorm/var/log/sandstorm.log & sleep infinity'
- With these DEV instructions, Sandstorm must be opened from the browser of the local machine. Not ideal
- To visit this Sandstorm server's main interface, go to: http://local.sandstorm.io:6080
- Synchronization: Not needed. Web app.
- Migration from Google Docs: Copy into the clipboard from Google Docs, and paste into a new note in WYSIWYG mode.
- Comments: Sandstorm isn't a note-taking app but a canvas to install apps. Like NextCloud. Pros: Not many. Web-based. Cons: The notes apps available are very limited. I logged in as the default Alice user and installed Etherpad and Permanotes
- (Jump back to top)
Thank You
Thank you for reading this post. I hope you found it informative and, hopefully, saved you some time. I welcome your feedback.